Importing TracPlus Pro 3 Markers into TracPlus Cloud
Markers from TracPlus Pro 3 can be added to TracPlus Cloud, and can be made visible for individual users (in their browser) or the whole organisation.
Add to Map (browser only)
This method will import TracPlus Pro 3 markers and display them on the map, but only for the user who does the import. This is useful if not everyone needs to see the same markers.
- Download the TPP3 Markers.xml file from TracPlus Pro 3. Instructions can be found here.
- Open the map settings in TracPlus cloud by pressing the map settings button
 on the bottom left of the page.
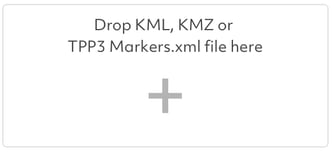
 - Drag the TPP3 Markers.xml file into the Custom Layers box:

Add as TracPlus Cloud Markers (all users)
This method will import TracPlus Pro 3 markers and add them as markers which all users in the account will be able to see. This can only be done by administrators, but only needs to be done once.
- Download the TPP3 Markers.xml file from TracPlus Pro 3. Instructions can be found here.
- Go to the Manage
 page using the left hand menu.
 - Click on Markers at the bottom of the page:

- Click the Create New Marker(s) button:

- Drag the TPP3 Markers.xml file into the "Drop TPP3 Marker file here" box, or click the big plus and select the file:

- The markers will be automatically added, and you'll receive a notification to say it's complete. If you have a lot of markers it may take a few seconds to load.

